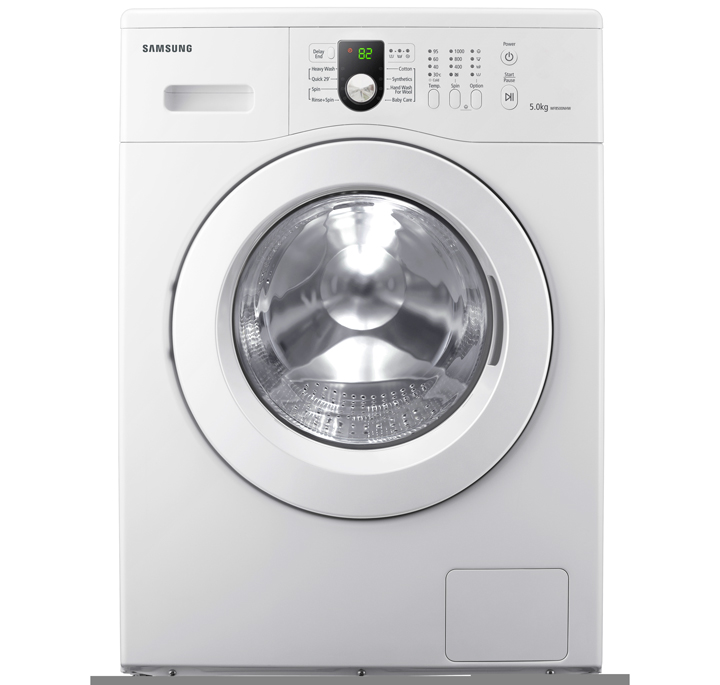
 Most of the various faults in washing machines can be easily fixed by yourself.
To access the parts inside the machine, you should know the disassembly procedures for your machine, as well as other models of top-loading and front-loading washing machines, and their specific features.
- What do you need to disassemble a washing machine?
- Washing machine disassembly diagram
- Horizontal loading
- Step-by-step instructions for disassembling a washing machine
- Vertical loading
- How to disassemble washing machines of different brands
- Disassembling and repairing a washing machine
- Replacing the heating element
What do you need to disassemble a washing machine?
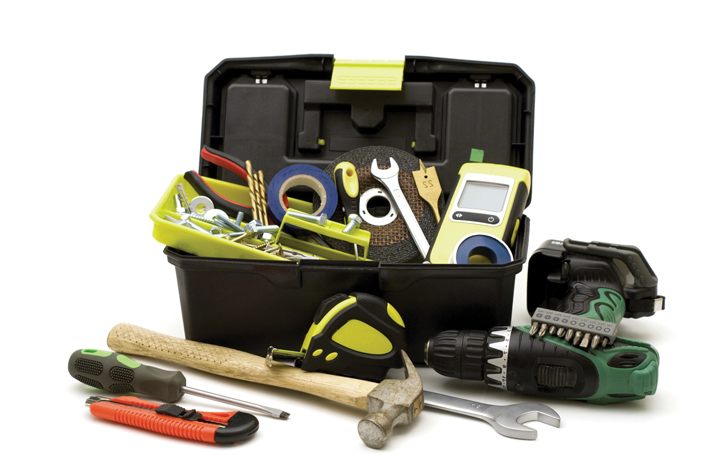
You will need:
 Several screwdrivers (Phillips and slotted are required).
- Screwdriver.
- Several hexagons.
- Pliers.
- Hammer.
Some types of connections simply “stick” over time.
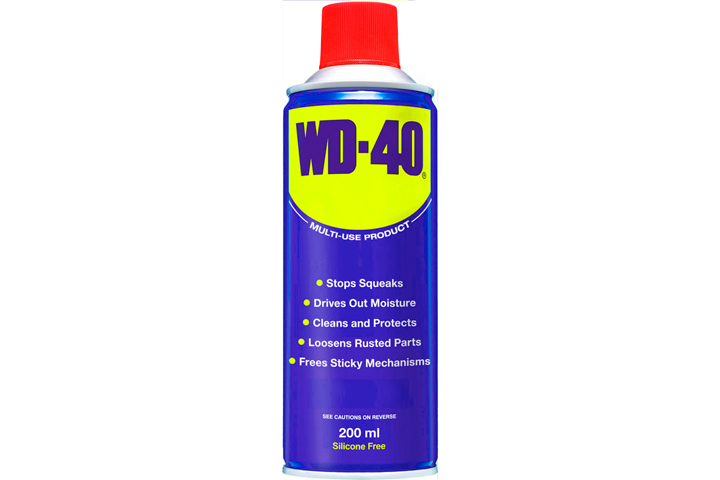 In order to be able to unscrew such an old screw, you will need a special liquid that almost all motorists have - WD-40.
Besides that, it never hurts you small pelvis to drain the remaining water from the hose and a few rags, with which you can wipe the internal parts, wipe your hands and quickly collect water spilled outside the basin.
Advice: If you don't disassemble washing machines every day, it's best to take photos of each disassembly step. This will serve as a reliable guide during final assembly, ensuring you avoid any confusion and successfully launch your repaired home assistant.
Washing machine disassembly diagram
Devices from any manufacturer, such as Ariston, Indesit, or other machines, have a similar design and disassembly procedure. There may be only minor differences in the details, which we'll discuss later.
The basic patterns are determined primarily by the type of laundry loading.
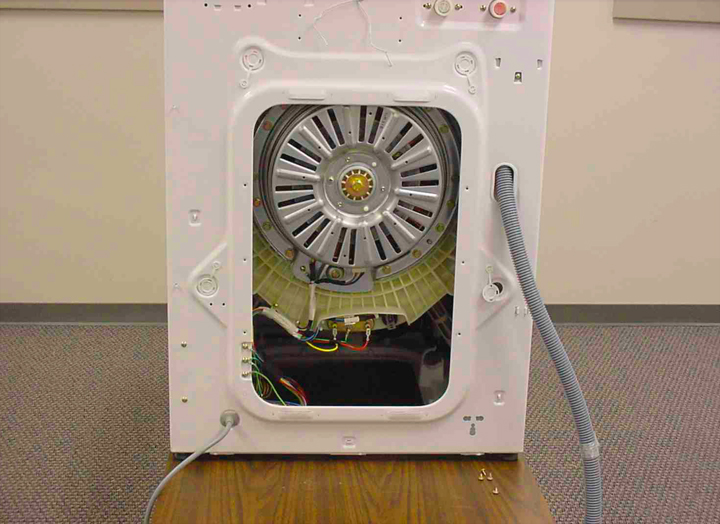
Horizontal loading
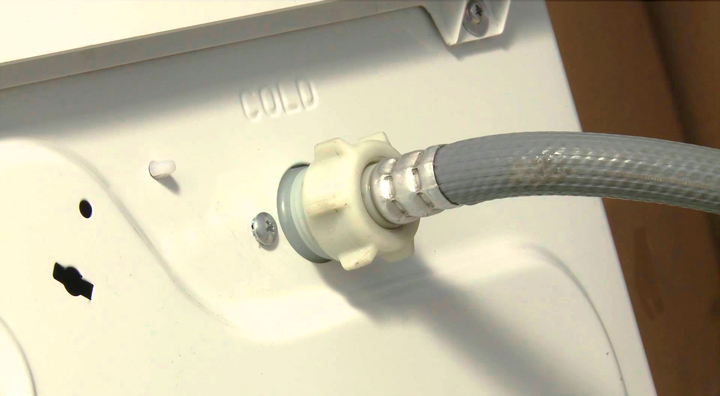 First comes the following de-energize your device, remove the drain hose from it and turn off the water supply to it.
If you know the internal structure of all the components of your washing machine, you can roughly guess where the problem is and, without wasting time disassembling the entire machine, start from the suspected location.
This way you will save your time and energy.
For example:
- Decreased washing quality, increased noise level A spin cycle that produces poorly spun laundry indicates a pump problem, or simply a clogged hose. To fix this type of problem, disassemble the machine from underneath or simply remove the front panel.
- If you notice that the water is not heating up, then it's most likely a faulty heating element. You can find the location of this part by reading the instructions. Typically, you need to remove the back panel, but in some washing machine models, this part may be located in the front.
- If the drain takes longer than usual, then the problem lies in the pressure switch or pump. Based on the design of the washing machine, this part may be located either behind the side panel or at the top.
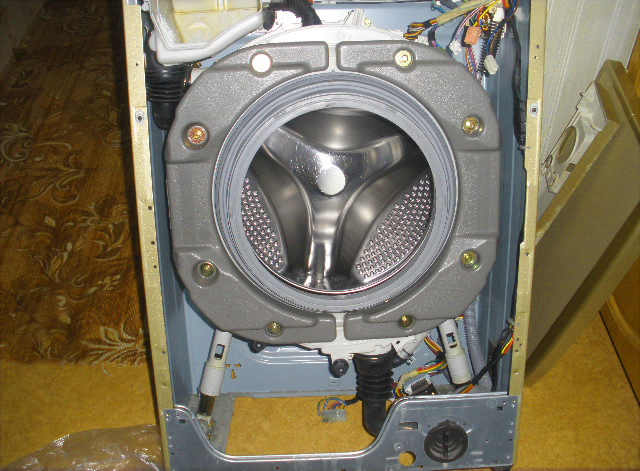
- If there is a problem with drum or bearings, then you will have to completely disassemble the machine.
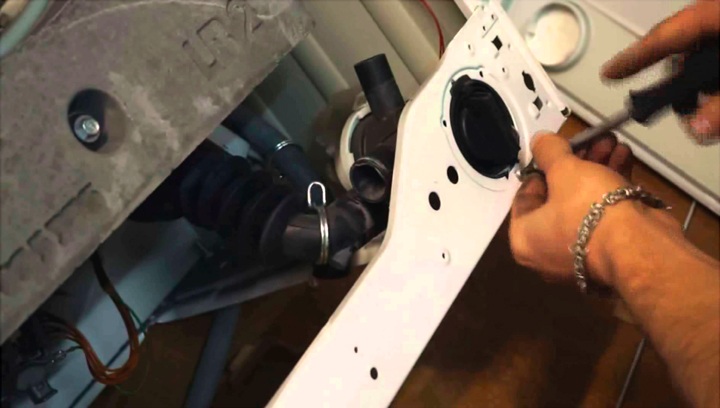
Step-by-step instructions for disassembling a washing machine
- Upper hatch.

It's held in place by several screws (you can remove them with a Phillips-head screwdriver) at the top of the rear panel. Once you've unscrewed them, press down on the cover from the front and then lift it up.
 Tray for detergents.
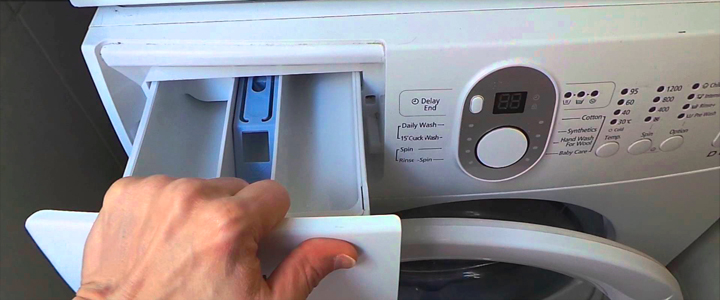
To remove this element, you need to feel for a special plastic button, which is usually located in the center of the tray, and after you press it, pull the element towards you and the dispenser for gels and powders will come out.
 Removing the washing machine control panel.
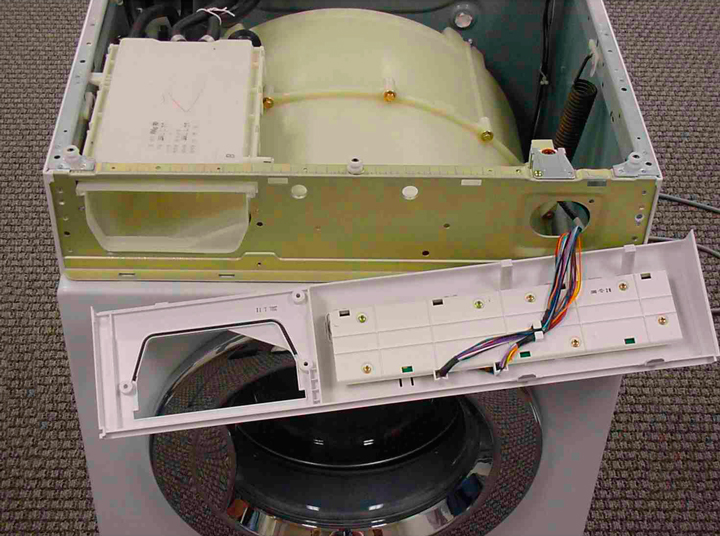
This part is secured with a pair of screws. One is located under the powder tray, and the other is on the opposite side of the panel. Remember to handle it with extreme care, and it's best to place it on top of the machine or hook it up.
- Removing the service panel.
It's used for servicing and removing small items that accidentally fall into the drum during washing, so removing it couldn't be easier: press the two latches on the sides and the third one in the middle.
- Front wall.
 First, you need to remove the rubber clamp located on the loading door. It's held in place by a small spring that needs to be tucked in.
Next, tighten the cuff around the circumference (use pliers and screwdrivers). If the cover is in the way, you can remove it by unscrewing just a few screws, but if it doesn't bother you at all, you can leave it alone.
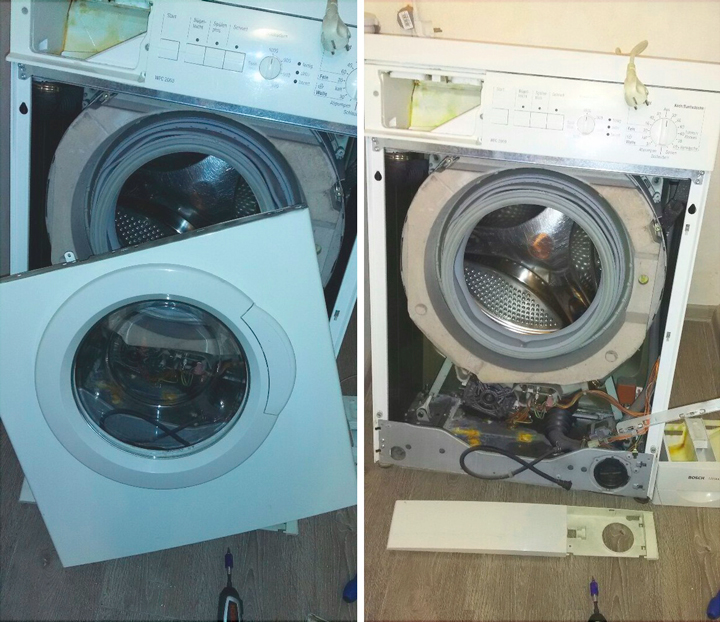 Next, locate all the fasteners that hold the front panel in place.
In addition to these, there are also hooks on the panel, and in order to remove them, the part must be lifted slightly.
The power connector is removed from the hatch locking devices, and the panel is now completely at your disposal.
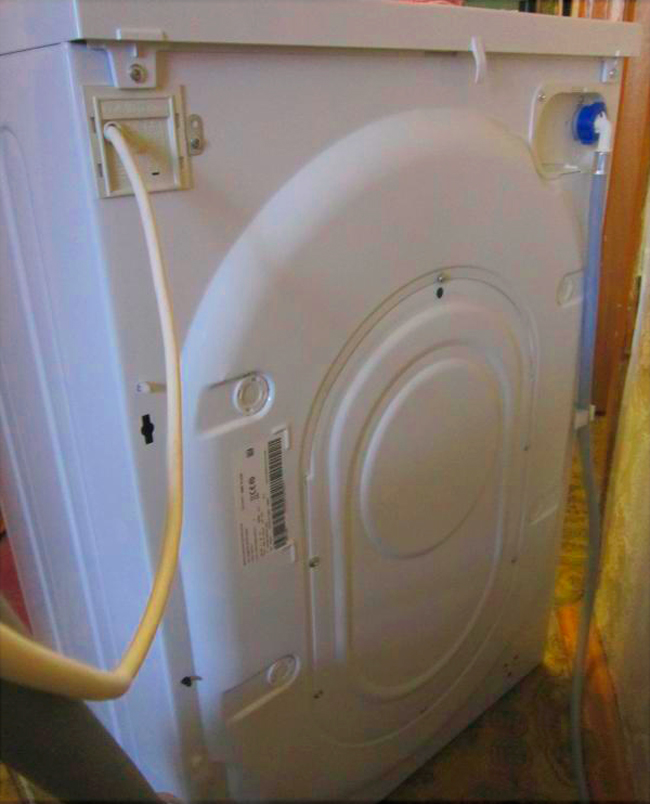
 Back panel.
Here, everything is much simpler, because to remove this wall, you only need to unscrew the fixing bolts around the entire perimeter (of which there can be quite a lot).
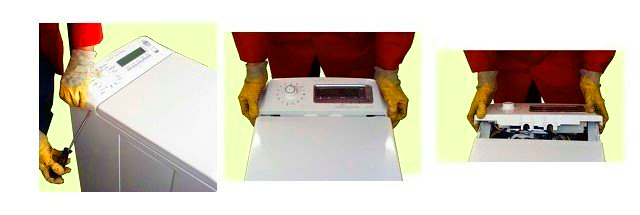
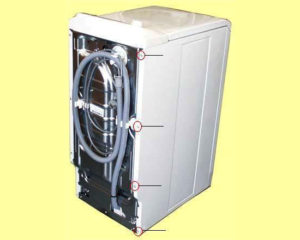
Vertical loading
Unit should be disconnected from the drain, electricity and water supply.
- Control Panel.
Using a screwdriver, carefully pry the top control panel from all sides. Pull it up, then toward the back wall, and then tilt it to a comfortable angle to allow easy access to the wires. Be sure to take photos of the wire locations before disassembly. Next, everything is unscrewed and removed. The printed circuit board contains all the components that need to be unscrewed to remove the mounting module.
- Side walls. To remove the side panels, unscrew all the screws, the bottom edge bends towards you, and pull it down.
- Front wall. You can remove its fasteners only after you have removed the side panels.
How to disassemble washing machines of different brands
 How to disassemble a Samsung washing machine
In Samsung washing machines, the detergent loading tray is attached with two screws.
The heating element in Samsung machines is located under the front cover of the washing machine, below the loading tank.
 How to disassemble an Ariston washing machine
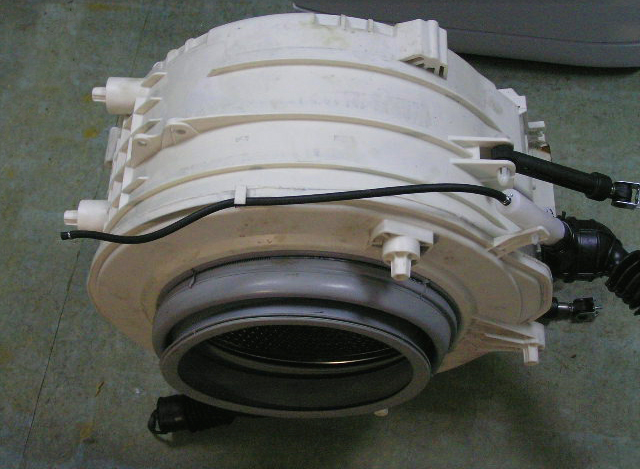
The biggest problem that can befall Ariston washing machines is failure of seals and bearings. The manufacturer has gone to great lengths to make these parts impossible to repair, although if you have a knack for repair, even this isn't a problem.
The tanks of Ariston machines are one-piece, so to replace the seals you will have to completely flare the tank, or, simply put, saw it apart.
How to disassemble an Atlant washing machine
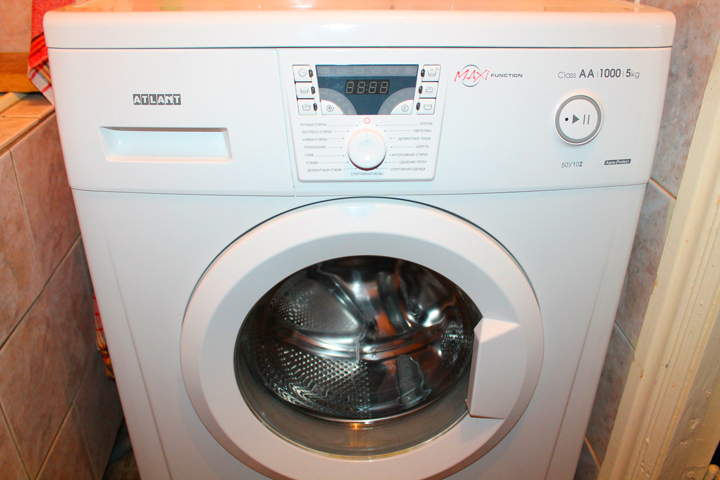 The drum in the Atlant washing machine is easily accessible through the top hatch, provided you remove the counterweight and the top control panel first. The drum in this model can be disassembled into two halves, which are bolted together when in use. This model is very practical for tank maintenance.
How to disassemble an Electrolux washing machine
The front wall in Electrolux can be removed, and it will provide access to all the main components.
"To replace (repair) bearings and seals, it is not necessary to dismantle the entire tank, since these parts are located on removable supports."
How to disassemble a washing machine LG
 To remove the front panel of an LG washing machine, you'll need to unscrew the door cover and then remove the gasket. It's held in place by a clamp that will be held in place by a screw.
This screw can be found by lifting the edge of the clamp with a screwdriver and inspecting everything in a circle.
To make it easier to remove the drum, first remove the top weight from it.
How to disassemble an Indesit washing machine
 The back panel of the Indesit washing machine is a small oval panel attached with six bolts. The top cover is slotted into place, and to remove it, you'll need to unscrew two bolts and then pull the panel toward you without lifting it.
The heating element is located under the tank and can be easily accessed through the back of the device.
The weight in the machines of this company is located below and above the tank.
How to disassemble a Bosch washing machine
The Bosch washing machine comes standard with a special wrench, which is located on the bottom panel. Behind it, you'll find the drain pump, located slightly to the left.
Disassembling and repairing a washing machine
They will help you identify what exactly is broken. error codes, which many washing machines display on the screen.
If your machine doesn't have these warning signs, the actual cause of the problem can be determined by the "symptoms" of washing problems, as well as an inspection of the insides of the washing machine and knowledge of certain subtleties.
For example, to determine if the bearings are the cause of the failure, open the hatch door and lift the drum by hand. If there's any play, then the problem is indeed with the bearings.
Here are some common breakdowns and how to fix them.
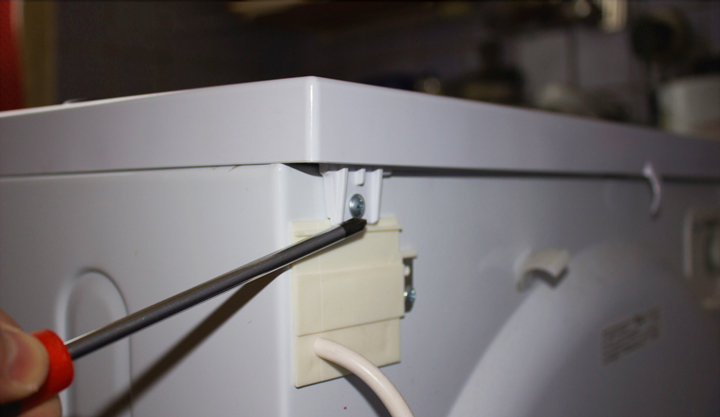
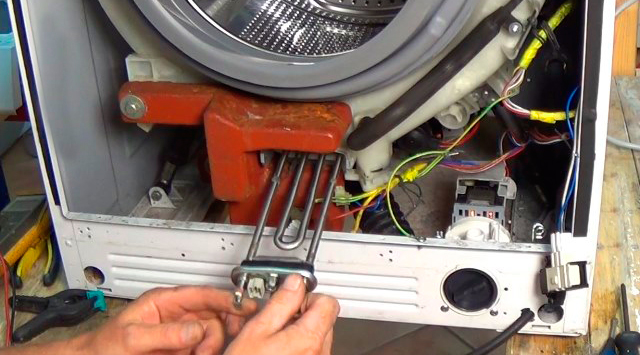
Replacing the heating element
Let's take a look at how to replace a water heating element.
 If the water stops heating, the heating element needs to be replaced. Purchase the part that fits your machine, then find the diagram for your specific type of heating element. Simply removing the rear panel of the washing machine usually solves the problem.
- Under the tank, you'll see the end of the heating element and the terminal. It's best to take a photo of their location on your phone.
- Disconnect the wires and terminals, and loosen the central screw. Next, use a screwdriver to pry the heater from one edge and try to move it from side to side, pulling it slightly toward you.
- You clean the inside of the renovation site.
- Install the new element, tighten the screw and connect everything according to the photographed diagram.

Pump and drain system
 Quite often, the problem arises in the drainage system (water either stops draining altogether, or flows out very slowly). First, you should check filter, which is located behind the base service panel and the hoses that run from it to the pump and back. It's in this space that blockages appear, but they're quite easy to fix.
"To check the pump's functionality, you can remove it from the device."
Sometimes, foreign objects can damage the washing machine's impeller. In such cases, the pump will need to be replaced.
Assembly
If you photographed everything that was needed during disassembly, then afterward it will be enough to carry out all the work, but only in reverse order.
But before you put the hatch cuff back in place, clean it from dirt.
Installing the retaining spring can be quite tricky. For ease, secure it with wire at the top and then tighten it counterclockwise.
And in conclusion…
It is quite possible to repair, clean or replace a part in the tank of an automatic washing machine, as the experience of many shows home craftsmen.


Are there any cars with heating in the front?
Hello Roman. I have an old Miele Senator 110 vertical with 1200 rpm.
A rhythmic clicking sound appeared while the drum was spinning.
Apparently something foreign got between the tank and the drum.
Moreover, the sound is heard only when the drum rotates to the right.
When rotating in the opposite direction, there are no extraneous sounds.
I tried to get it out with a flexible hook, but it didn't work. What should I do? How do I disassemble the tank?