 If you hear a noise while the washing machine is running grinding, and water is leaking from below, which means it’s time to replace the bearing.
Otherwise, further use of the broken part will lead to serious consequences in the form of combustion. heating element or all electronics.
How do you remove a bearing from a washing machine drum? Replacing it without experience isn't easy, as it's considered a major overhaul, but it's possible. Here's a little theory.
Causes of bearing failure
The most common cause of failure is water getting into the part.
 Water washes away all the lubricant and causes the parts to lose their elasticity. This typically occurs after an average of 8 years of washing machine use.
It should be remembered that the bearing and the seal interact closely with each other and if they break, both parts must be replaced.
If you replace a bearing without a seal, this will affect the performance of the bushing in the future. drumThe bushing can no longer be repaired; the entire drum will have to be replaced.
If the machine has been used improperly for several years or has been frequently overloaded, this will also affect the wear of the seal and bearing.
If a bearing fails, the washing machine will make strange noises and vibrate heavily. You can visually detect this by detecting play by pressing on the top or bottom of the drum.
Preparatory stage
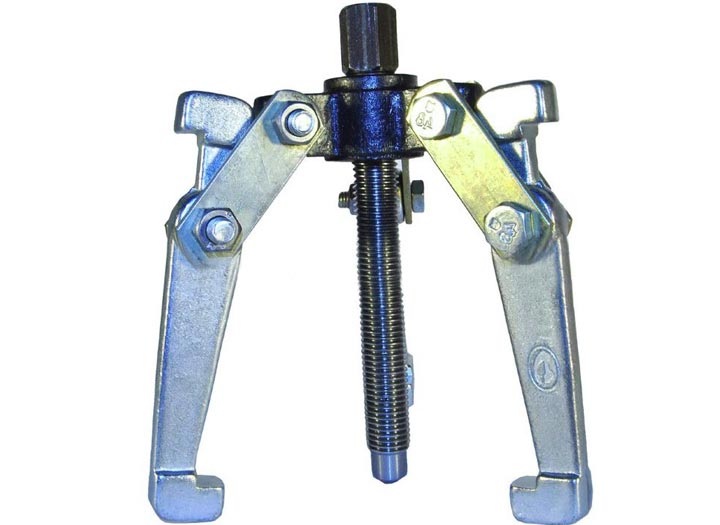 Before removing the bearing, it's a good idea to have the necessary tools ready. The only special tool you'll need is a puller, which is used to remove the part from the shaft.
But don't rush into buying one; first, make sure the bearing doesn't need replacing. If you do need to buy a puller, choose a universal one. It will fit a variety of part sizes and can be used multiple times.
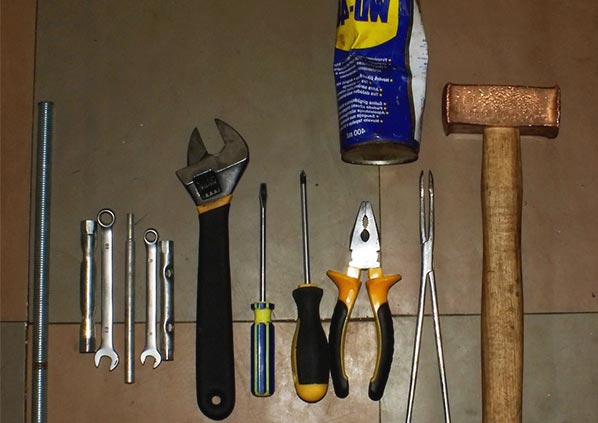
The rest of the toolkit is standard and includes:
- -
 pliers;
 - - hammer;
- – screwdrivers;
- – sealant with putty;
- - chisel;
- – socket wrenches;
- - hexagon;
- – lubricant and liquid such as WD-40.
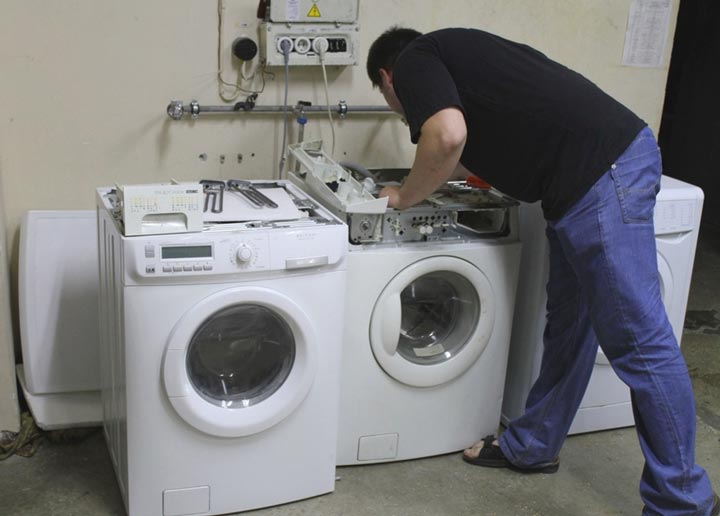
How to remove the tank from the washing machine
To get to the bearings, you have to climb into the car's fuel tank. No one has been able to replace these parts without removing it. This would require disassembling the entire powertrain.
Before dismantling, the machine should be de-energized and the water supply should be turned off.
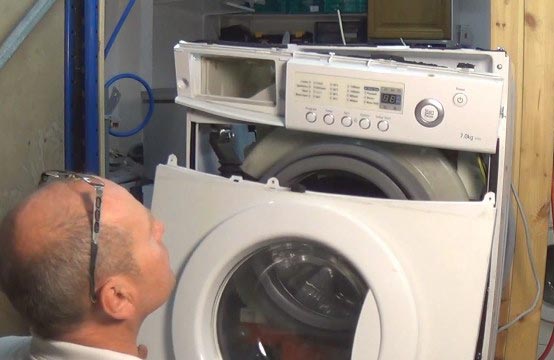
Work begins with installing it in a convenient place for access from all sides.
 The top cover is removed by unscrewing two screws at the back.
- It is being removed tray for detergents.
- There is a bolt under the tray that needs to be unscrewed.
- The front part of the case is removed from below.
- There are 2 more bolts underneath it. They are unscrewed.
- The queue of the clamp on the hatch, which is pulled out and cuff is being cleaned.
 Next, you need to detach the front part of the machine by pressing the hatch lock.
- The back of the machine is removed.
- It is being removed belt.
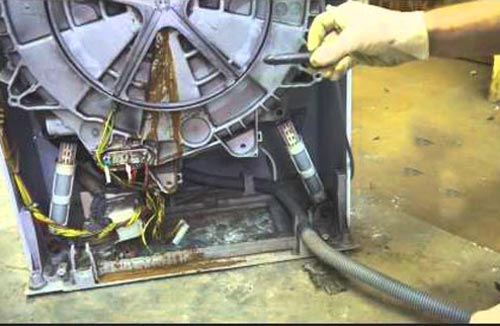
- Locate the heating element and disconnect all the wires. Take a photo of the wire locations to avoid any problems during reassembly.
- There's a pipe between the pump and the tank. We'll remove it too.
 Both counterweights are pulled out.
- The engine is held on by two bolts - unscrew them.
- The shock absorbers and springs are removed.
- The tank is removed.
How to remove a bearing from a washing machine drum
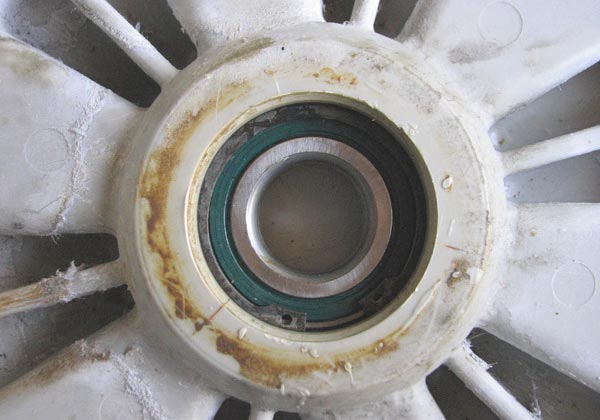
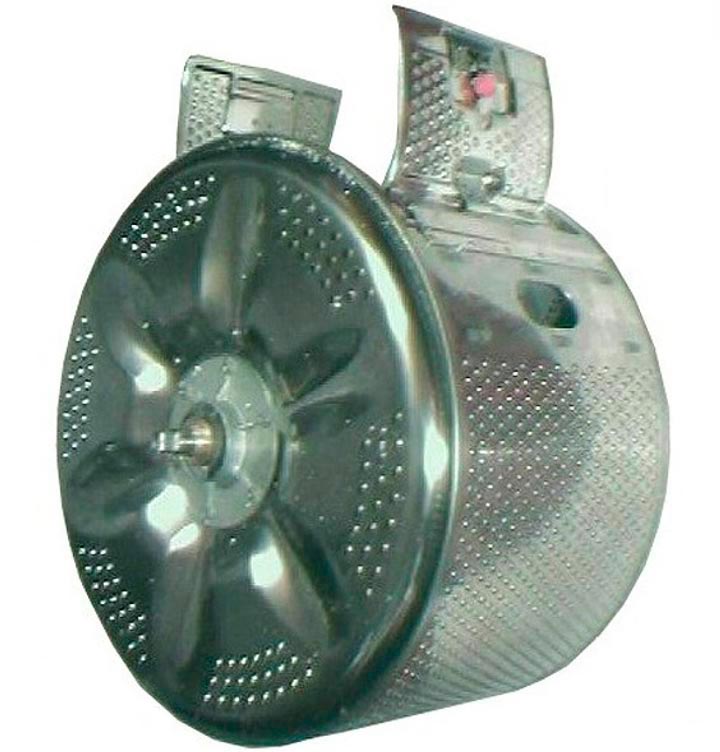
 Once the tank is removed from the unit, it will need to be disassembled because the bearings are located inside. If traces of grease are visible upon removal of the tank, this is a sure sign of bearing or seal failure.
How to remove a bearing from a washing machine drum?
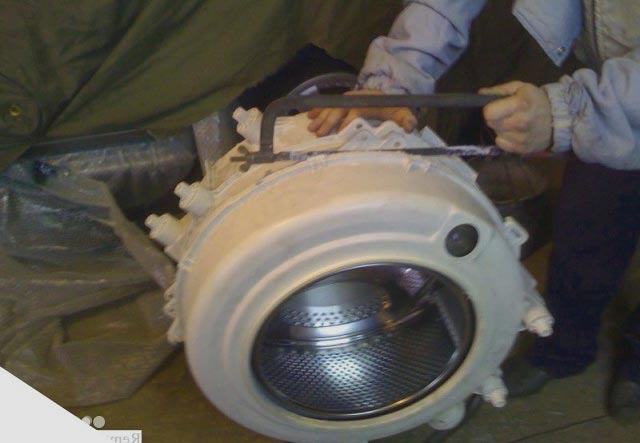
The tank consists of two halves, connected either with bolts or glue. With bolts, it's easy—you just unscrew them. If the tank is glued, you'll have to get out a hacksaw and cut it into two halves—straight and neat.
So, the tank is disassembled. Now:
 The sprocket wrench is used to loosen the drum pulley. This process is not easy, and there may be a problem with the bolt, so skill and care are required.
- The pulley is removed using rocking movements.
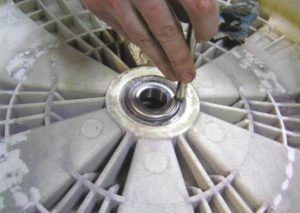
 Next, using a hammer, separate the tank and the drum of the machine by knocking the shaft inward. The main goal is to avoid damaging the shaft.
- On both sides of the drum there are bearingsYou will need a metal rod to knock them out with a hammer or a puller.
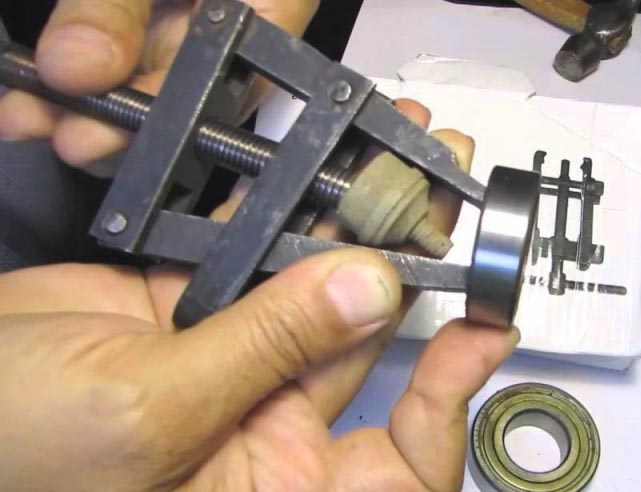
 A puller allows parts to be removed very quickly without damaging the bearing race. It's especially useful for bearings with a faulty shaft. Pullers come in a variety of types, but the most convenient are those with jaws.

We remove the bearing from the washing machine drum ourselves.
First, the small bearing and seals are removed.
New components are installed in their place, always lubricated to prevent water ingress. Lubrication also reduces friction.
When purchasing new parts, it's important to pay attention to the markings on the inner race. The new bearing should be exactly the same as the old one.
All that remains is to assemble the machine in reverse order.
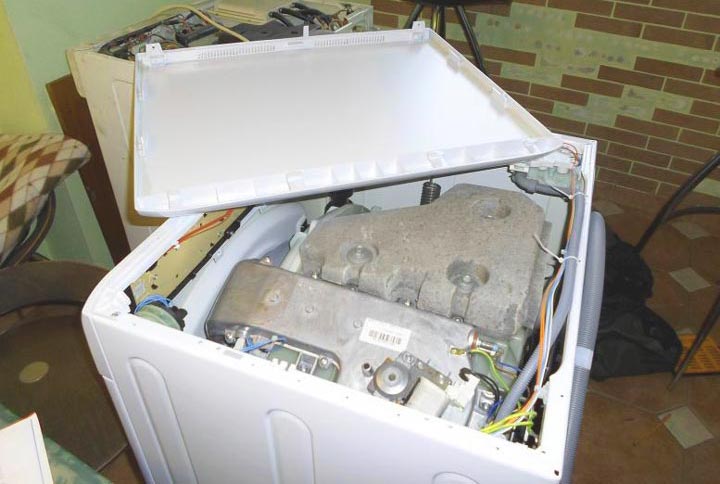
Replacing a bearing in a top-loading machine
 As a rule, in such equipment, bearing failure is a consequence of the failure of another part.
When loading vertically, the drum rests on two bearings mounted on the outside of the tank. After disconnecting the power, remove both side walls. The bearing where the drive pulley is not located is replaced first. Remove the support, unscrewing the threads counterclockwise. Then clean the seal area and the shaft.
When replacing, the sealing ring must be seated correctly so that there is no distortion, otherwise this will lead to a new replacement of the bearings.


