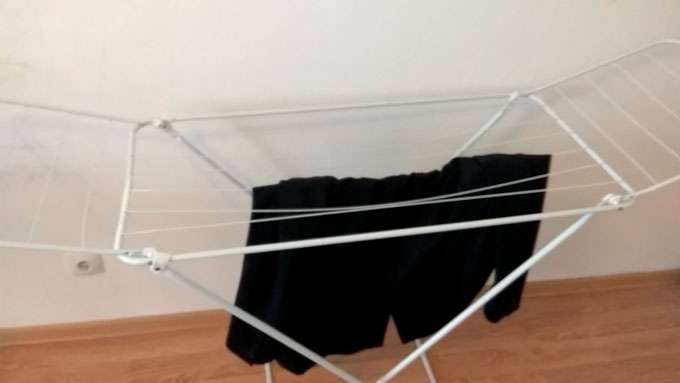
Want to know how to fix a clothes dryer at home? I'll share with you how I did it at home in 10 minutes. If I didn't have all the tools, it might have taken longer, or I might have even bought a new dryer, as they usually cost up to 1,000 rubles. For example, I bought mine at Leroy Merlin, but there are more expensive and better quality ones, but they all break.
- How to fix the strings on a floor-standing clothes dryer yourself?
- Step-by-step instructions for repairing a clothes dryer, making it "like new"
- We remove paint from the dryer joints
- We bend the wires of the dryer on which we hang the laundry after washing.
- Sand it thoroughly with a file
- Watch my video on how I repaired a clothes dryer at home:
- How I fixed the legs of my dryer
How to fix the strings on a floor-standing clothes dryer yourself?
Housewives often miscalculate the strength of their dryers by hanging them overloaded with laundry, causing them to fail under the strain, causing the solder joint to crack. Metal is cheap these days, and it cracks easily, which is especially unfortunate because you want to dry your laundry properly after washing, not deal with time-consuming repairs.
I think it's better to fix it once and do it right than to "tape it up" every time and get angry.
Step-by-step instructions for repairing a clothes dryer, making it "like new"
First, drill holes in the places where the strings break on your floor dryer. Choose a thin drill bit that matches the diameter of your string!
We remove paint from the dryer joints
To ensure that our connection is strong, we need to remove the tape that you used to glue the torn strings and sand them down with sandpaper, a file, a file, or a surface sanding machine.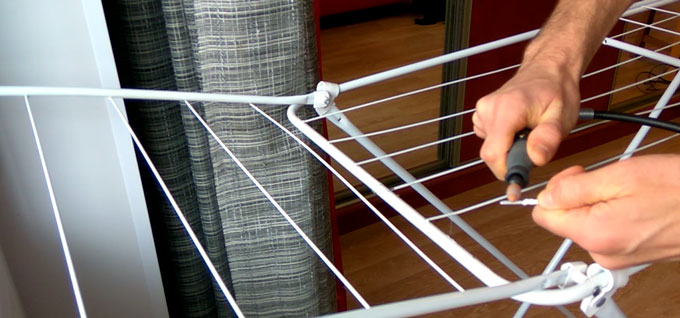
We bend the wires of the dryer on which we hang the laundry after washing.
We drilled holes in the tube, then made hooks from knitting needles and inserted them into the drilled holes!
It's also best to bend the tip of the knitting needle downwards by about half a centimeter. The hole should be where the rod bends. Insert the bent tip into the hole and wrap it with electrical tape, or do a better job of soldering and painting it so it looks like new!
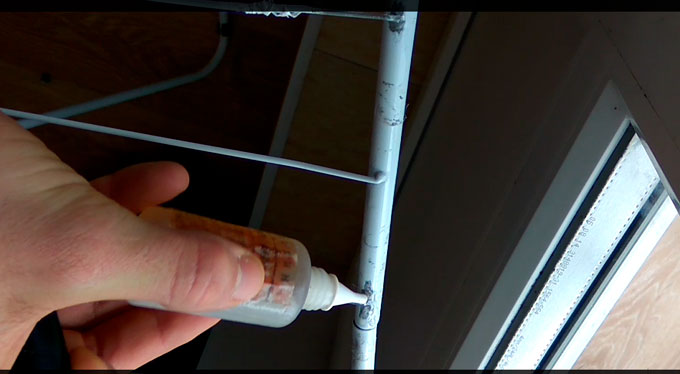
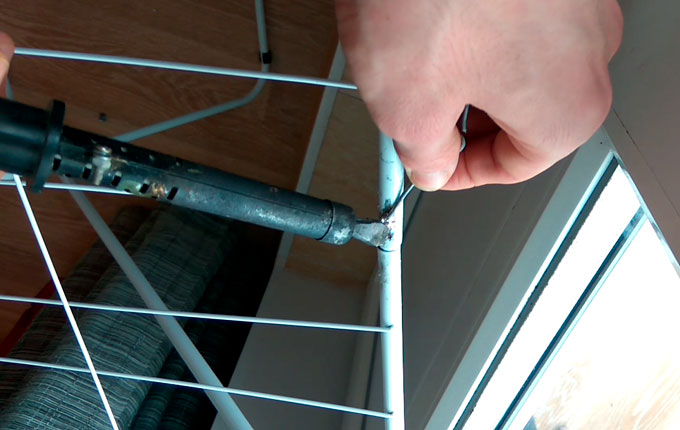
Next, we sand and solder them, having first treated everything with soldering acid for a better connection!
Sand it thoroughly with a file
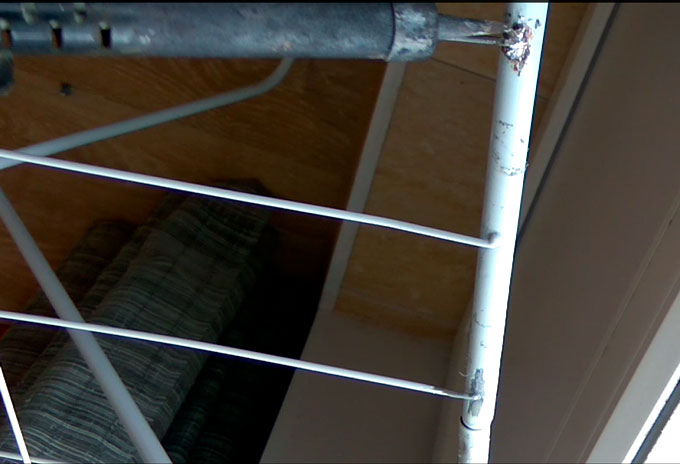
To ensure that nothing extra sticks out or splinters, we thoroughly file down our dryer in the soldering areas!

Everything's great, now it's time to paint. We'll use any waterproof paint. I used alkyd spray paint, but you can use any metal paint! Done!
Watch my video on how I repaired a clothes dryer at home:
How I fixed the legs of my dryer
Dryer legs also break often. I used a hacksaw, sawed through the joint, straightened the tube until it was straight, carved a tube out of sturdy wood, inserted it into the broken dryer leg on both sides, and sealed it with electrical tape. It held well. You can also drill small holes and secure an additional wooden dowel inside the leg! It works! What method did you use?


Hello. I simply replaced the broken and bent needles with a clothesline. It took 5 minutes.