 A modern housewife cannot imagine life without her main helper around the house – a washing machine, so some unexpected breaking will be immediately eliminated with the help of some repair actions.
How to fix a hole in a washing machine rubber seal
 Quite often there are situations when falls into disrepair Not brushes in the tank or heating heating element, A washing machine door cuff, which cannot always be replaced within a short period of time.
This won't have much of an effect on the operation of the washing machine itself, but it can very easily ruin your comfortable life, since there will be a constant flow of water near the hatch. water leaking.
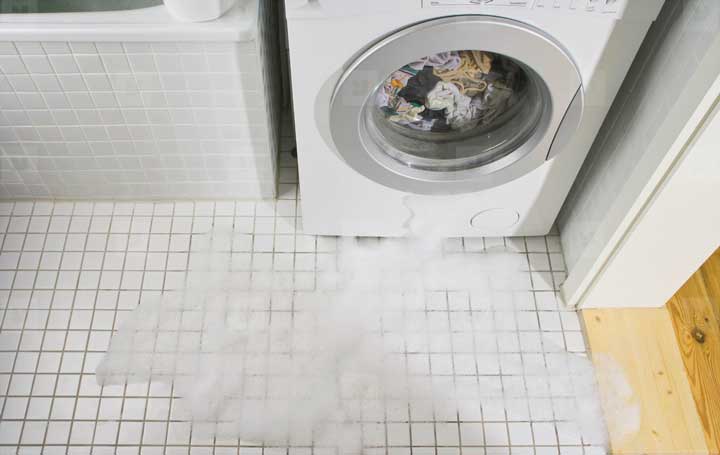 That's why many users are increasingly asking the question, "How can I fix a cuff leak?" and whether it's possible to do it themselves, without calling a service center.
You can glue the cuff, but this will likely only work for a short time. This type of repair can be done as a temporary measure until your machine is picked up. service center, or until you collect money to repair your assistant.
The part will still have to be completely replaced, so you shouldn't rely too much on gluing it.
What could cause this to happen?
This type of breakdown can be identified and prevented at the very beginning. An inspection of the structure will reveal whether repairs are warranted and how to avoid similar situations in the future. There may be several possible causes for this type of breakdown.
 Cracks, arising as a result of very strong vibrations Your washing machine's drum is broken. Repairs are certainly possible, but that's just the tip of the iceberg. To prevent this problem from bothering you in the future, you need to address the severe vibration, which is much more difficult.
- Sometimes the problem lies in wiping the cuff, When something in the mechanism breaks down and the cuff starts rubbing against some other part. This type of failure can be caused by a misalignment drumBefore starting repairs, you should fix the problem that caused this type of damage.
- Cuts or tears,which, as a rule, are formed due to coins forgotten in pockets.
- «Fatal" injuries, which there is no point in repairing.
The last of these can occur for a number of reasons, such as poor initial seal quality or cracks due to age, which will inevitably recur. Such damage cannot be repaired by gluing, and there's practically no point in doing so.
Preliminary preparation and inspection
 If you decide to repair the seal in your washing machine yourself (let's say you don't have the money to buy a new part, or there are no suitable replacement options, but you really need to do your laundry), then you need to take a number of steps to prepare for the repair.
They will be able to help you avoid various troubles in the future.
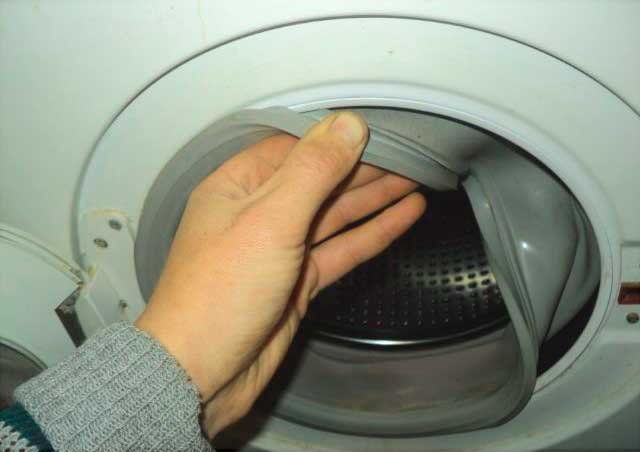
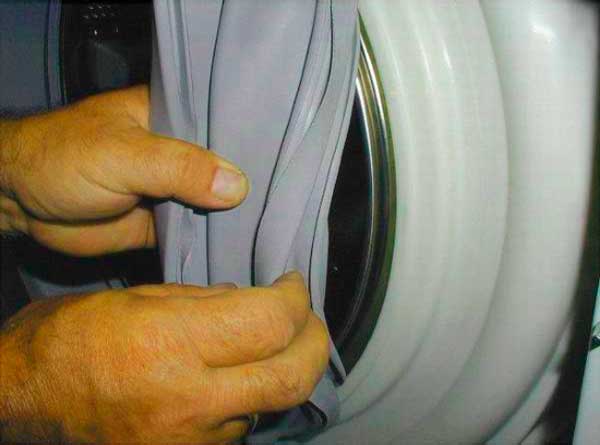
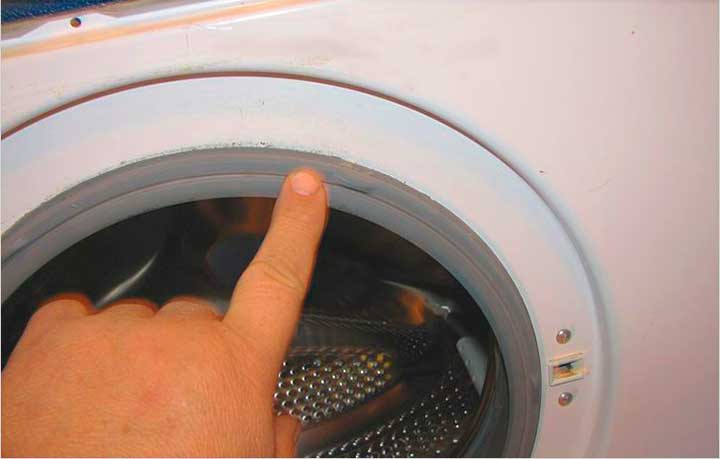
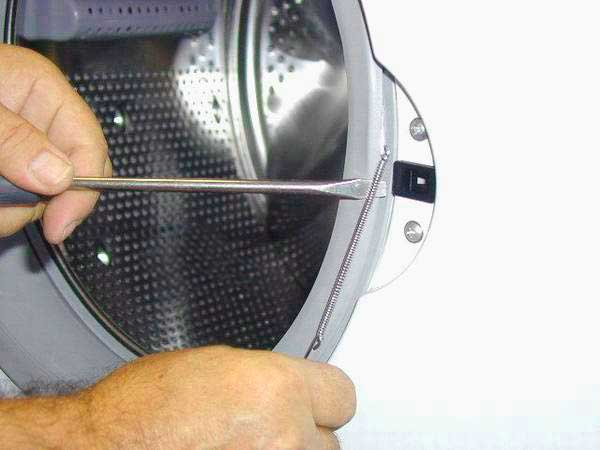 So first you should carefully inspect the cuff And establish the percentage of feasibility of its repair, as well as the cause and extent of the damage. To do this, you will need remove the spring clamp, holding the cuff itself. In some models of washing machines, it will be necessary remove the front cover completely, and in some cases even remove the drum.
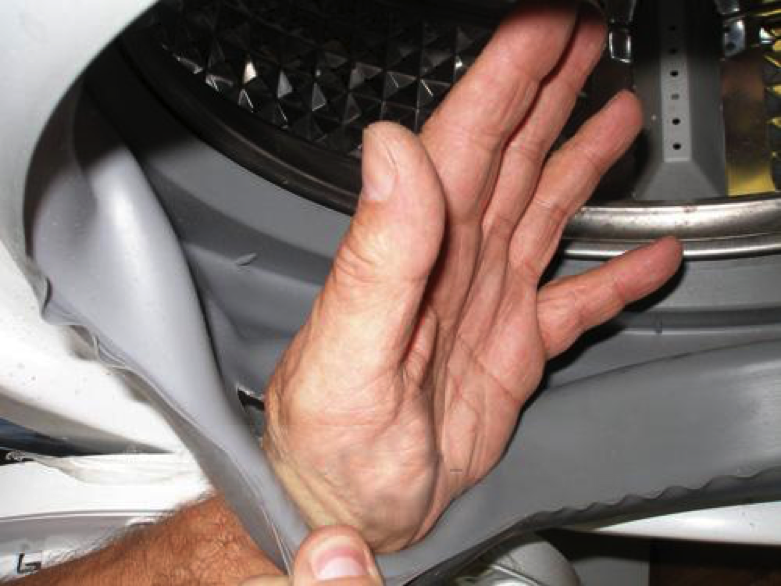
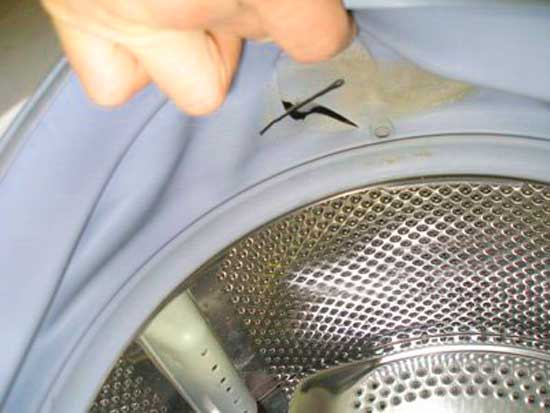 Then you should do the following analysis of the need for cuff removalIf the damage is in an accessible area and located on the top, it can be repaired without even removing it. In some models, removing the seal requires removing the drum, so be sure to assess your reassembly skills beforehand. It might be best to consult a specialist or someone with experience.
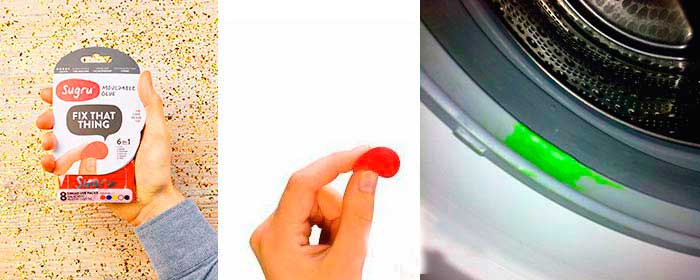 And finally, we approach the patch and glueIf you don't have a thin elastic band handy, you can use a condom or a medical glove, folded into several layers. The adhesive you use to repair the cuff should have high adhesion and elasticity.
Most people who have done this type of repair work have given good feedback on the simple instant shoe glue.
The repair process
To ensure quick and high-quality repairs, you should prepare and lay out in advance all the tools and equipment that may be needed at the most crucial moment.:
- Thin rubber.
- Scissors.
- Alcohol/gasoline for degreasing.
- Moment glue.
- A soft cloth that you no longer need or cotton wool.
To ensure that after such repairs your machine serves you as long as possible without any unexpected surprises, adhere to the following algorithm of actions.
- First, prepare the patch itselfIf you're using rubber, you should carefully trim it to fit the patch. If you're using a condom or medical gloves as a patch, first glue each layer together, and then simply cut the piece to the required dimensions. The patch itself should be approximately 2 cm larger than the hole on all sides.
- On the place with the hole in the cuff of the washing machine hatch, carry out degreasing with gasoline or alcoholThe cuff with the glued patch should be kept straightened until completely dry.
- Next Apply a thin layer of glue to the surfaces to be glued.Follow the instructions provided with the glue for the next steps. There are two options. You'll either need to join the pieces together immediately, or you can wait for the glue to set before gluing.
- For the bonded surface, provide the most natural position, and then fix it until the glue dries.
- Leave it the part to dry for 24 hoursThe machine cannot be used during this time.
And that's it, consider your washing machine seal repair complete. But don't assume there won't be any more problems.
As mentioned, this is only a temporary solution, so it's best to buy a new replacement part and have the machine repaired properly as soon as possible, as the drum's movement will cause the patch to come off quickly.
 Once the glue has completely dried, you can begin reassembling. Once the parts are in place, perform a test wash to verify the effectiveness of your DIY repair. If you've done everything correctly, there shouldn't be any issues, and your machine will run without any leaks for some time.


I read it completely and I can agree, but not entirely) You can have the cuff repaired at a tire shop) it’s still cheaper than a new one, which costs from 1,200 to 3,500 rubles; the price of such a repair starts from 50 rubles) but for home conditions, your article is probably the best.