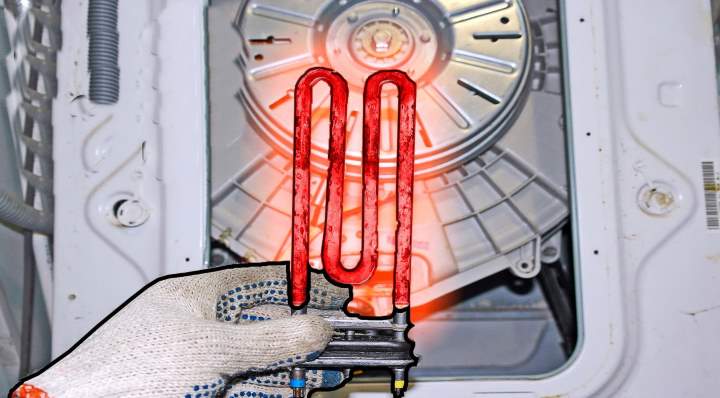
 Any washing machine without a heating element cannot be functional.
It is included in every washing program.
But it happens that when in contact with hard water, scale forms, which causes the part to fail. In this article, we will look at how to replace the heating element in a washing machine.
How to replace a washing machine heating element
Depending on the machine model, the heating element is usually located either at the front or at the back.
 Rarely located on the side if the machine is side loading.
Armed with a screwdriver and an 8-10 mm wrench, we get to work.
Important rules
General rules for replacing the heating element in a washing machine yourself:
- Work is carried out only when the equipment is unplugged.
- You need to get rid of the water completely by draining it using a filter or hose.
- Always have a rag or mop at hand.
Where is the heating element located?
First, you need to make sure that the part that needs to be replaced is located exactly where you think it is.
We'll have to remove the back cover to look underneath the tank. Can you see the heating element? Great! Let's get started replacing it.

What if it's not there? Then we'll disassemble the front. Chances are, if you own a Samsung, LG, or Bosch model, the heating element will be located at the front.
How to replace the heating element located at the front?
The algorithm of actions is simple:
 To remove the front panel of the machine, you need to remove two screws on it, pull the part back and put it aside.
- Next, remove the detergent compartment. To do this, unscrew the screws (there are two of them) and pull the part out by pressing the latch on the back.
- You'll need to remove the seal on the loading bin. To do this, remove the metal ring by stretching the spring.
- Now's the time to tackle the front cover. It's attached with screws and possibly additional clips, so pull it forward and down.
- It's time to tackle the wires on the door latch. They can be disconnected without difficulty.
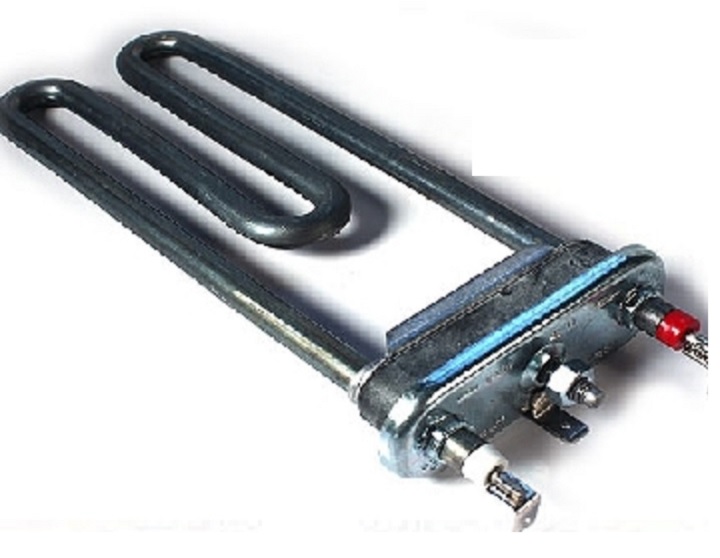
- Now let's move on to the heating element located at the bottom of the tank. First, remove the terminals, temperature sensor connectors, and ground wire located at the end of the part. This is done to remove the temperature sensor.
- On the heating element, you need to unscrew the fastening nut and press the bolt inside.
- Before pulling out the part, rock it up and down a little.
- Cleaning. All debris, powder residue, and scale must be removed from the tank.
- Installing a new heating element is done in reverse order: connect the temperature sensor and insert it into place, attaching all the wires and tightening the nuts.
- We are assembling the car.
The heating element has been replaced, now we just need to test it in operation.
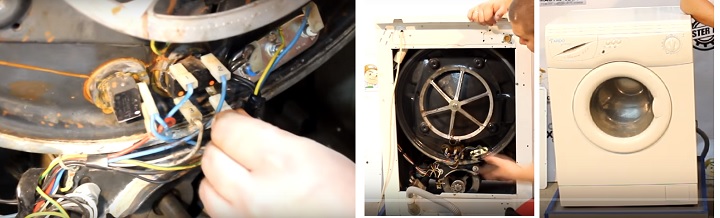
How to replace the heating element located at the rear of the machine?
In Indesit, Whirlpool and some other washing machines, the heating element is installed at the rear, which allows you to easily replace the part yourself.
To do this you need:
- Disconnect the machine from the power supply and drain the water, first disconnecting the hoses if necessary and turning off the water.
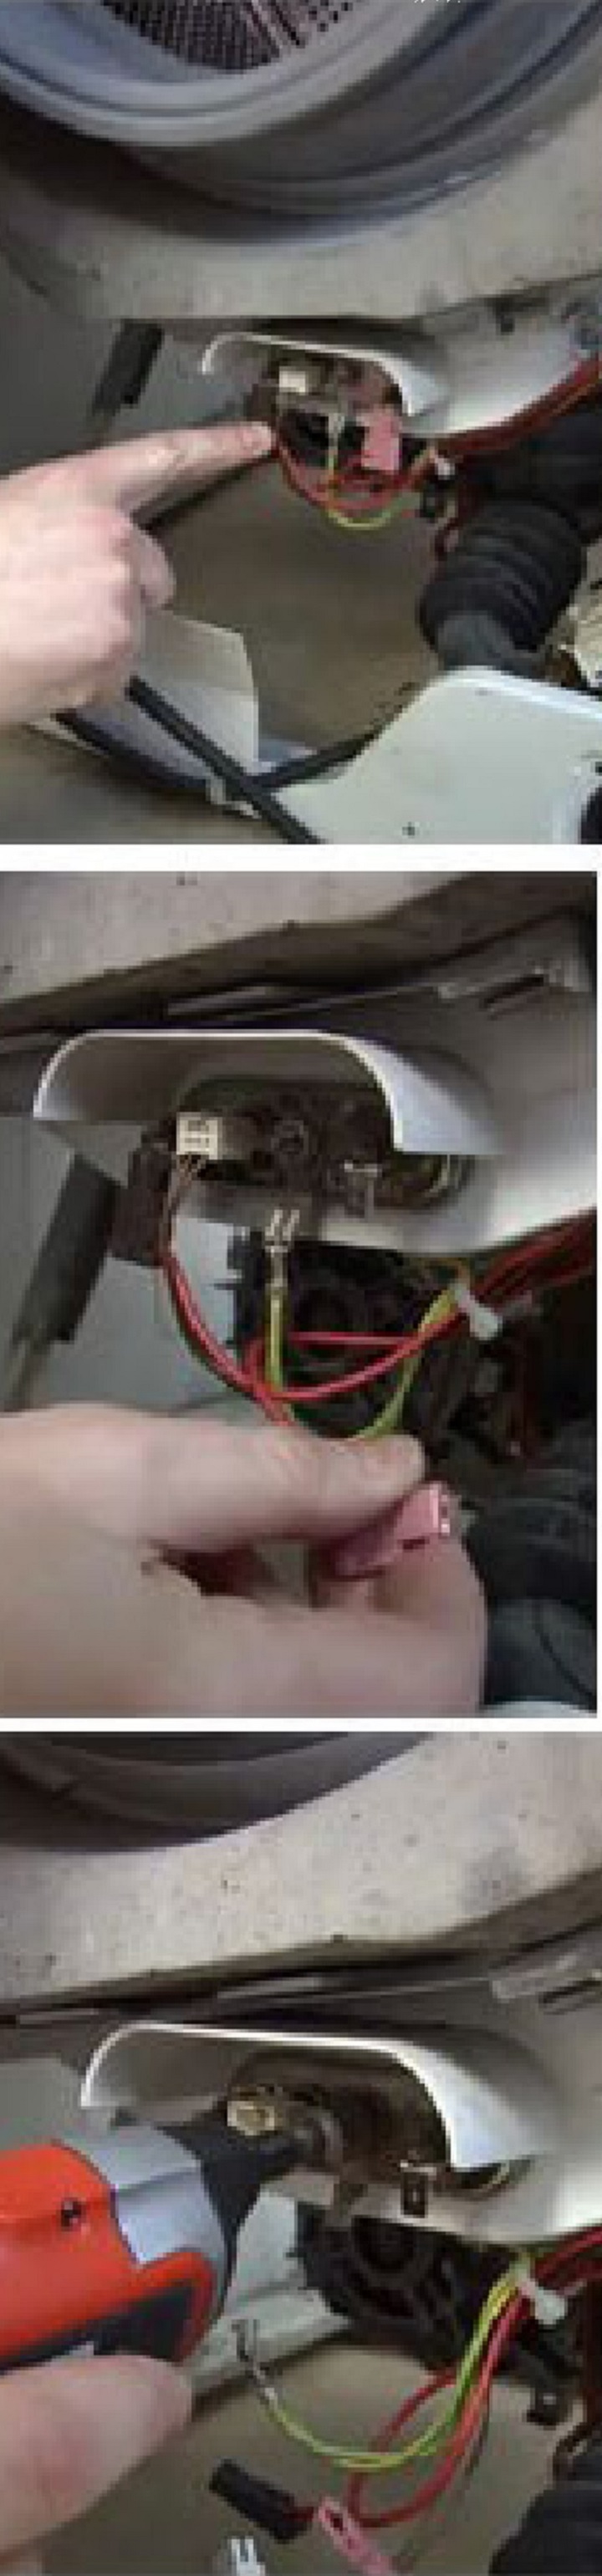
- Unscrew the screws at the back and remove the cover, which can be of different sizes and shapes.
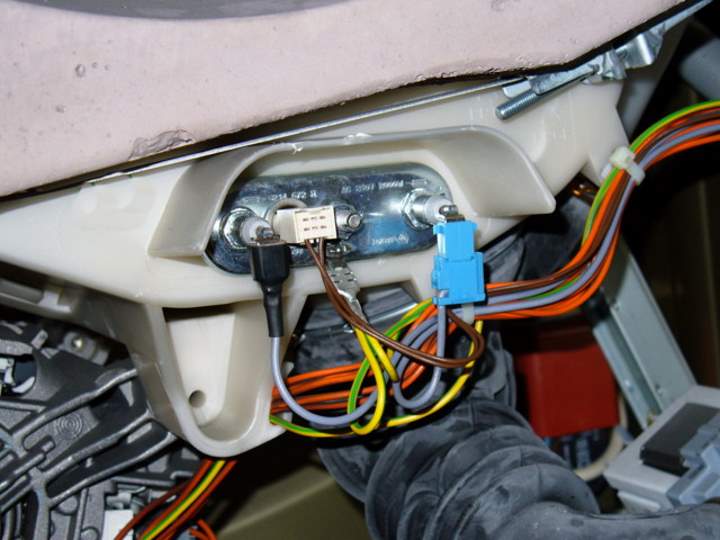
- The heating element is located at the bottom of the tank. Disconnect all the visible wires. Typically, there's a ground wire in the center, phase and neutral wires on the edges, plus the wire from the temperature sensor and four contacts.
- You can remove the heating element using an 8 or 10 mm socket wrench. Unscrew the mounting nut (in the center), and press the bolt inward.
 Now, armed with a flat-head screwdriver, insert it between the heating element and the tank and push it out.
- Cleaning work is carried out: residues of detergents, scale, and debris are removed.
- The new heating element is installed. First, connect the temperature sensor. To ensure the element fits securely, you can lubricate the rubber seal with soap or dishwashing liquid. It should be completely recessed into the tank.
Tip: To prevent future leaks, pour a ladle of water into the tank above the heating element. If you see a leak coming from under the seal, it's best to tighten the retaining nut slightly.
- The stage of connecting all the wires and assembling the machine
Important! The heating element inside the drum is held in place by a metal bracket. If the end of the heating element doesn't fit into the bracket, the drum will rub against it during operation and damage the machine.
The job is done, we figured out how to replace the heating element in the washing machine and it is ready for use.


