 The use of modern household appliances in our homes significantly improves the quality of life.
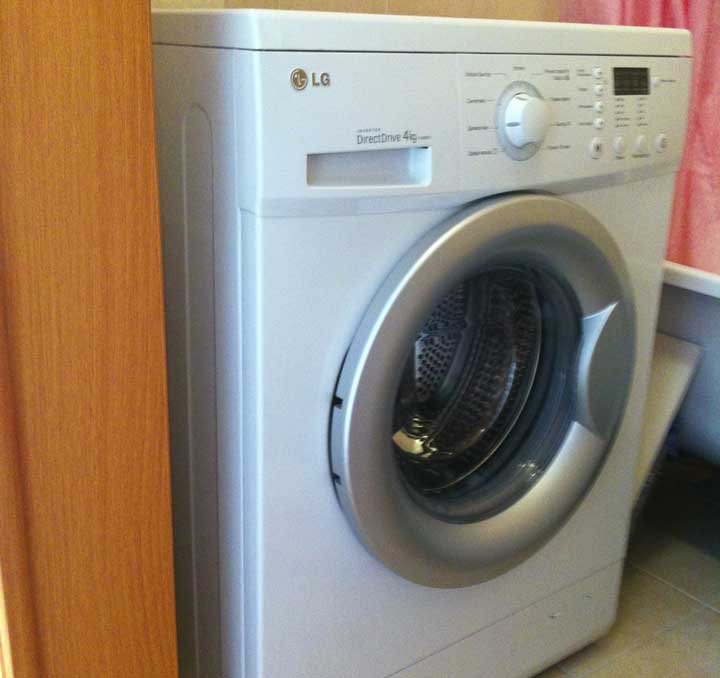
It's almost impossible to imagine our existence without a washing machine. It has become such a ingrained part of our lives that it has become an integral part of it.
This is perhaps the most sought-after technology, which can: minimize manual labor, perform a variety of operations, integrate into a home management system, and have a beautiful, designer appearance.
Preparing for installation and connection of the washing machine
 The owner of a future washing machine is primarily guided by personal preferences, technical specifications, and budget. When this marvelous appliance appears in the home, the first question that puzzles its owner is: what does connecting the washing machine yourself entail, and how do you do it?
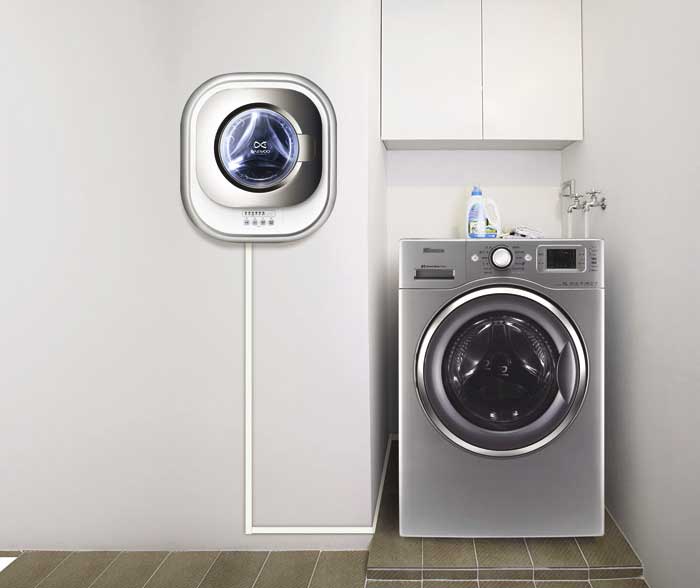
Before purchasing a washing machine and bringing it into your home, it's a good idea to decide where to install it. There are many models available in different depths and sizes.
Although, in principle, if you don't plan to build the machine into a cabinet or a separate, designed and allocated space, you can think about its installation location after the appliance arrives home. Washing machines are typically placed in the bathroom, kitchen, hallway, or pantry.
What requirements should be taken into account in this case?
- Level floor.
- Proximity to water supply, sewerage and electrical outlet.
- Convenient operation.
- Aesthetics.
Work begins with study operating instructions, which describes all the important points to consider when installing a washing machine.
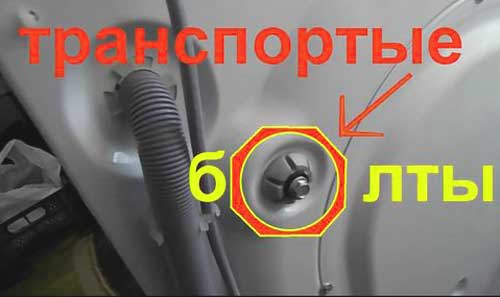 Next, remove the transport components: bolts, beams, and brackets. The tank is secured with bolts, and when unscrewed, it should hang on springs.
This is a mandatory step; otherwise, operating the equipment with these holes present will cause malfunction. Empty bolt holes are covered with plugs, usually included in the kit.
The staples secure the power cord and water drain hoseThe bars are placed between the tank and the body.
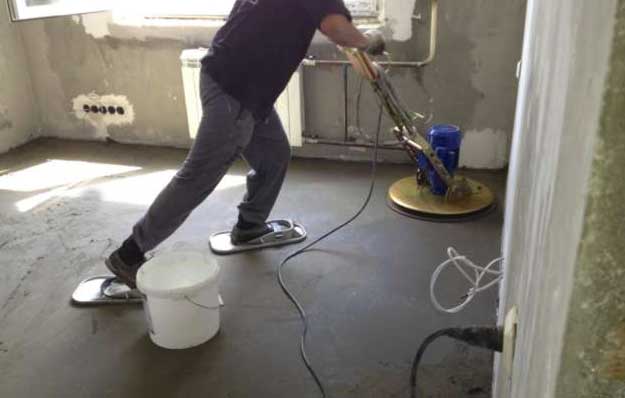 The next step in this phase is preparing the machine's flooring. It must be durable, horizontal, and resistant to harsh operating conditions.
If the living space's characteristics don't meet the requirements, measures will need to be taken to ensure they are met. This may include laying a cement-sand screed on the floor or using other methods to strengthen the subfloor.
Installing a washing machine
 After the preparatory stage and unpacking the machine, it's ready to be installed. You'll need a spirit level or plumb line to ensure the machine is perfectly level, with an acceptable 2-degree tilt.
The inspection is performed on the top cover. The tilt angle is adjusted by screwing the washing machine's support feet in or out.
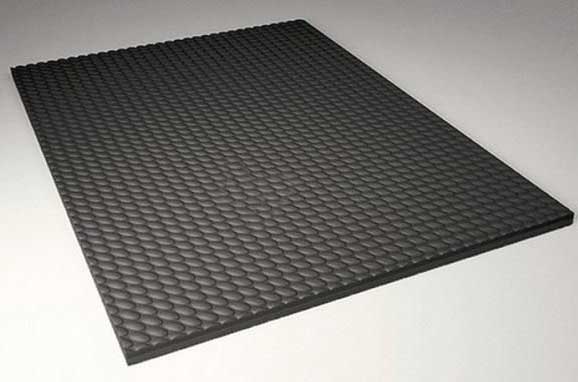 Do not place any objects under the machine, as vibrations can cause them to pop out. If the machine is installed on tiles or other slippery surfaces, it's a good idea to purchase a rubber mat—it provides excellent shock absorption.
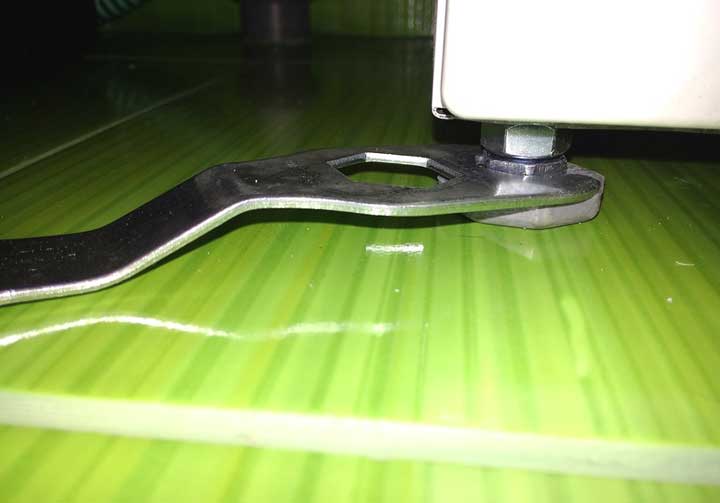
After adjusting the legs, they should be secured with a lock nut, which is tightened counterclockwise.
To ensure long-term and efficient operation of your washing machine, the installation stage must be carried out conscientiously.
What else do you need to know before connecting the machine?
- The machine's most stable position is ensured when the feet are fully screwed in. However, this is only possible on a perfectly level surface.
- Check stability of technology You can do this by rocking it diagonally. If it rocks, it's either installed incorrectly or, if the frame's rigidity prevents this, the rocking amplitude for each diagonal should be the same.
- If installation on a flat surface is not possible, and an inclined floor is considered, then fasteners will be required for fixation.
Connecting the washing machine to the water supply
A crucial and serious step. The machine is standardly connected to cold water, which is heated by a heating element when needed.
 Some people also use hot water to save energy, but this is a controversial issue, as it means wasting hot water.
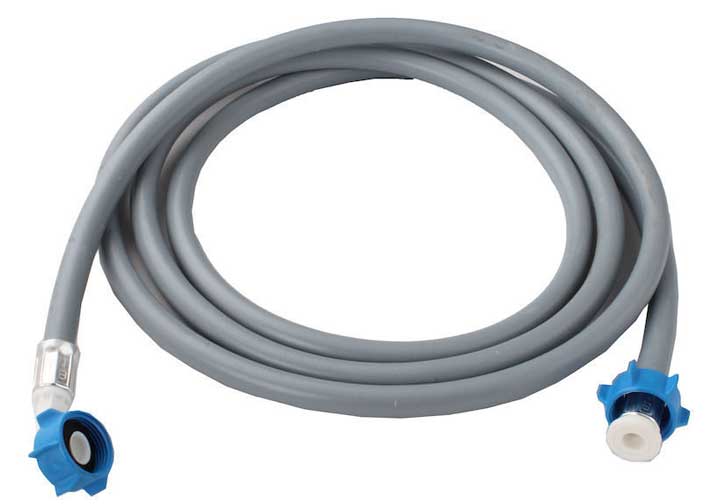
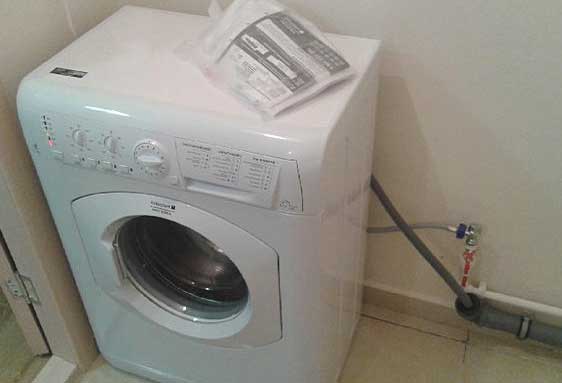
To connect the water to the washing machine, you'll need a water supply hose. It's usually included with the washing machine. The hose is equipped with fittings, but one caveat is that the standard hose (70-80 cm) is usually not long enough.
In this regard, you can buy a rubber hose of the required length in a store or use a fixed connection.
In the first option, everything is simple - the machine is connected to the inlet pipe of the equipment and the water intake point.
There are some points for this:
- the water supply hose must be located in a place inaccessible to mechanical damage, it is better if it is hidden;
- the hose should lie freely and not be stretched, otherwise it may become deformed;
- The quality of the rubber hose affects the reliability of use, as well as the tightness during operation of the washing machine.
If we consider the second option for connecting a washing machine, water is supplied to the machine via fixed lines. This requires pipes (metal) and plastic systems.
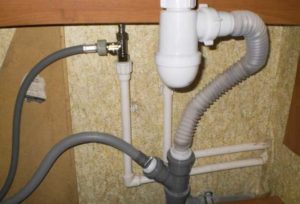
Using steel pipes is impractical and inadvisable, as frequent rust clogging of the pipe itself and the unit's components will quickly render the washing machine inoperable.
When using metal pipes, it is important to remember that a direct connection to a washing machine will not provide a high level of tightness, so using an adapter hose is essential to prevent leaks.
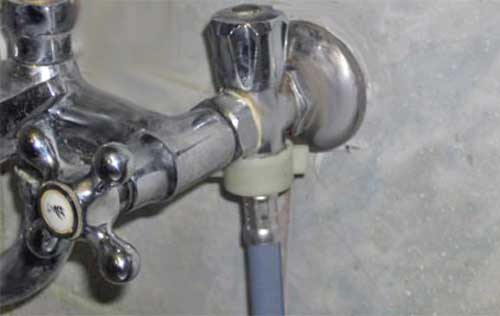 There's a way to connect the washing machine to the faucet. This requires a long hose. The downside is that before each wash, you'll need to unscrew the faucet and replace it with an inlet hose. This solution is more of a temporary solution.
There are washing machine models that are equipped with an AQUA-stop. The idea is that drain hose, which has electromagnetic valves at the end that shut off the water when the machine is turned off.
Here are some key points to keep in mind when connecting your washing machine to the water supply:
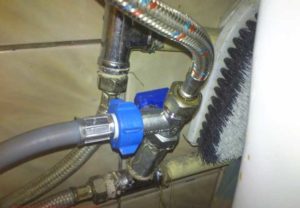
 Water supply points should be equipped with ready-made outlets leading to the faucet or flush tank. Pipes are connected via tees or individual fittings and elbows.
- Use a ball valve that can shut off the user at the right time.
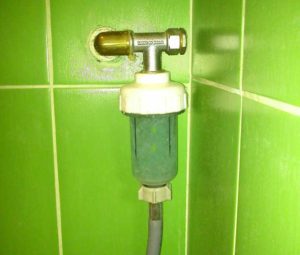
- Try to resolve the issue with the filtration system. Perhaps using mechanical or magnetic water purification systems will significantly extend the life of the equipment.
Connection to the sewerage system
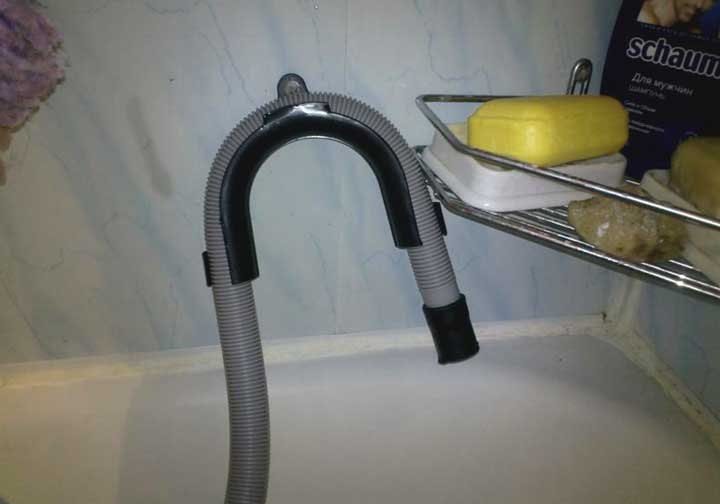
Connecting a washing machine drain to the sewer system seems like a simple process. There are two options:
 When the drain hose is attached to the bathtub, for example, the hose is simply screwed onto the machine's outlet, and the other end is lowered into the bathtub. To prevent flooding, the hose is securely attached to the back of the machine no higher than 80 cm. Keep in mind that corrugated hoses are prone to clogging, so the minimum bend radius should be 50 cm and the maximum 85 cm. Clamps are used to ensure proper hose positioning.
 Connecting the washing machine drain directly to the sewer. A more complex option. It's important to remember that the drain hose shouldn't be too long, otherwise it will put extra strain on the pump and could damage it. To prevent water from getting into the machine smell To prevent waste from draining, traps are used. Alternatively, the drain hose is secured in such a way that an airlock forms, ensuring a minimum distance of 0.5 meters from the floor to the bend.
Connecting the washing machine to the power supply
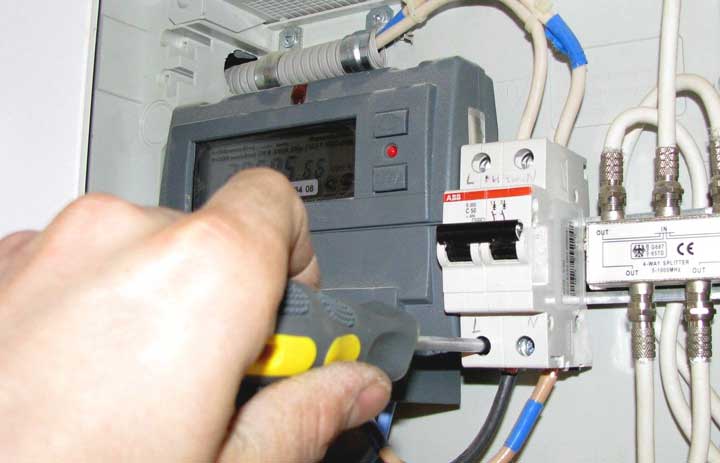
Before connecting the machine to the electrical network yourself, you must be sure to familiarize yourself with the electrical safety requirements.
The washing machine is in constant contact with water, which requires compliance with the following points:
 It is recommended to route the washing machine's power cables separately from the electrical panel. Plastic cable boxes will help preserve the integrity of the interior.
- Electrical protection is provided using special devices such as switches and residual-current devices. These devices will cut off the power if contact occurs between a person and the wire. This device will protect the washing machine from mechanical impact, moisture, and insulation issues. It is typically selected with a current rating one step higher than the machine's rated current. Leakage current is also taken into account. If the washing machine is connected to a separate power line, this value is 10 mA.
- Use of a cable with three cores and a cross-section of at least 1.5 sq.mm.
 Sockets must be grounded, with a wire connected to a 3 mm2 grounding busbar in the electrical panel. Connecting this wire to the water or heating system is prohibited, to prevent equipment damage.
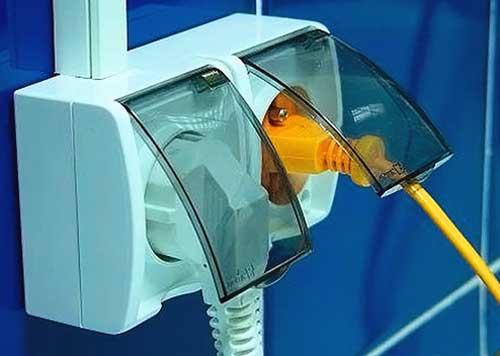
When installing a socket, consider whether a humid environment is desirable and whether adjacent rooms may need to be used. Also, pay attention to the electrical safety rating of the sockets; it's best to purchase ones with a ceramic base and protective cover.
It's important to consider the voltage it's rated for. Connecting the washing machine via an adapter is not recommended, as it can cause the contacts to heat up and damage the machine.
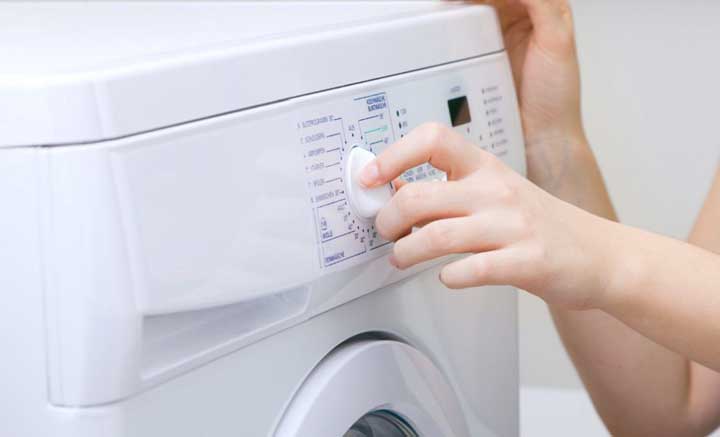
Checking functionality
After preparation, installation, and connection, a test run of the equipment is performed. For this, access to water and electricity is provided.
 Being checked tightness and other possible defects.
After this, the first wash cycle starts without laundry on a program with the maximum water heating temperature.
This is done to remove factory grease.
After a successful test, the machine can be considered ready for use.


